Ironing Clothes
About This Project
A high-level outline for efficiently and effectively ironing clothing to achieve a wrinkle-free finish.
Tools & Materials
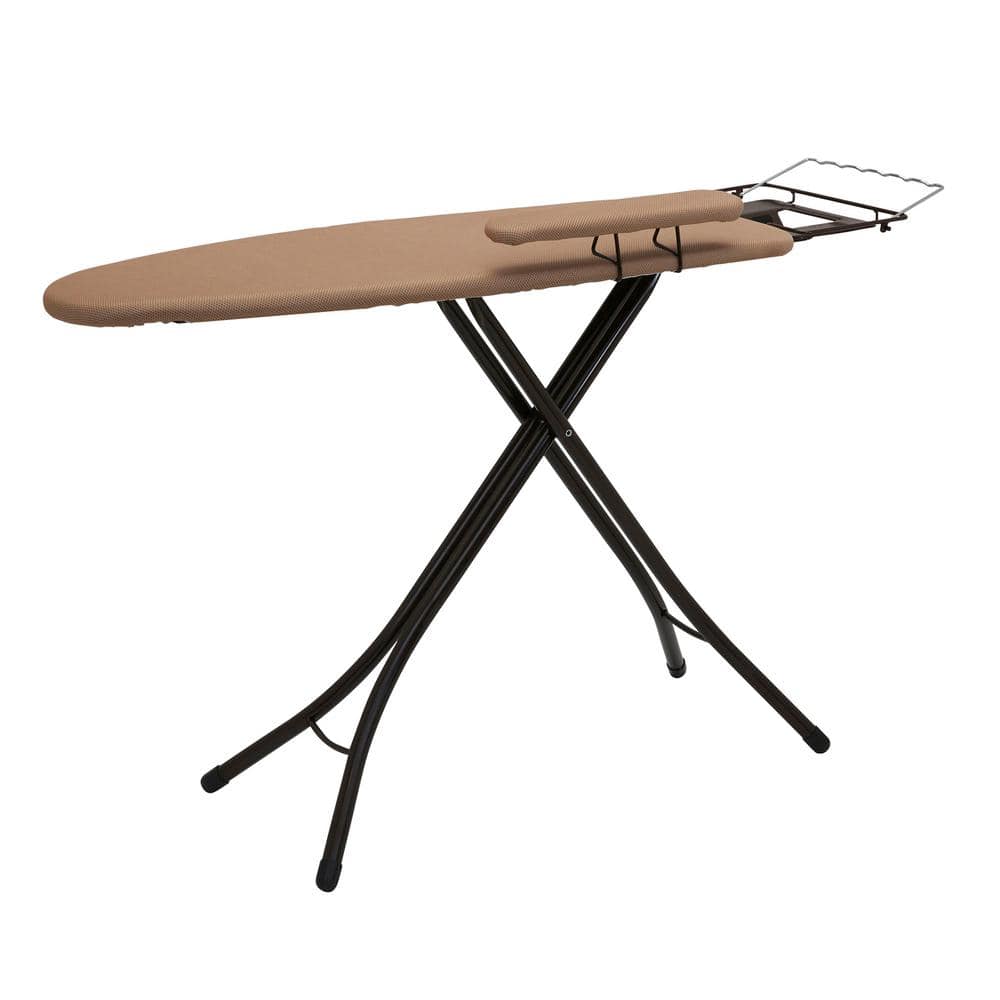
HOUSEHOLD ESSENTIALS Steel Top Ironing Board 972021-1
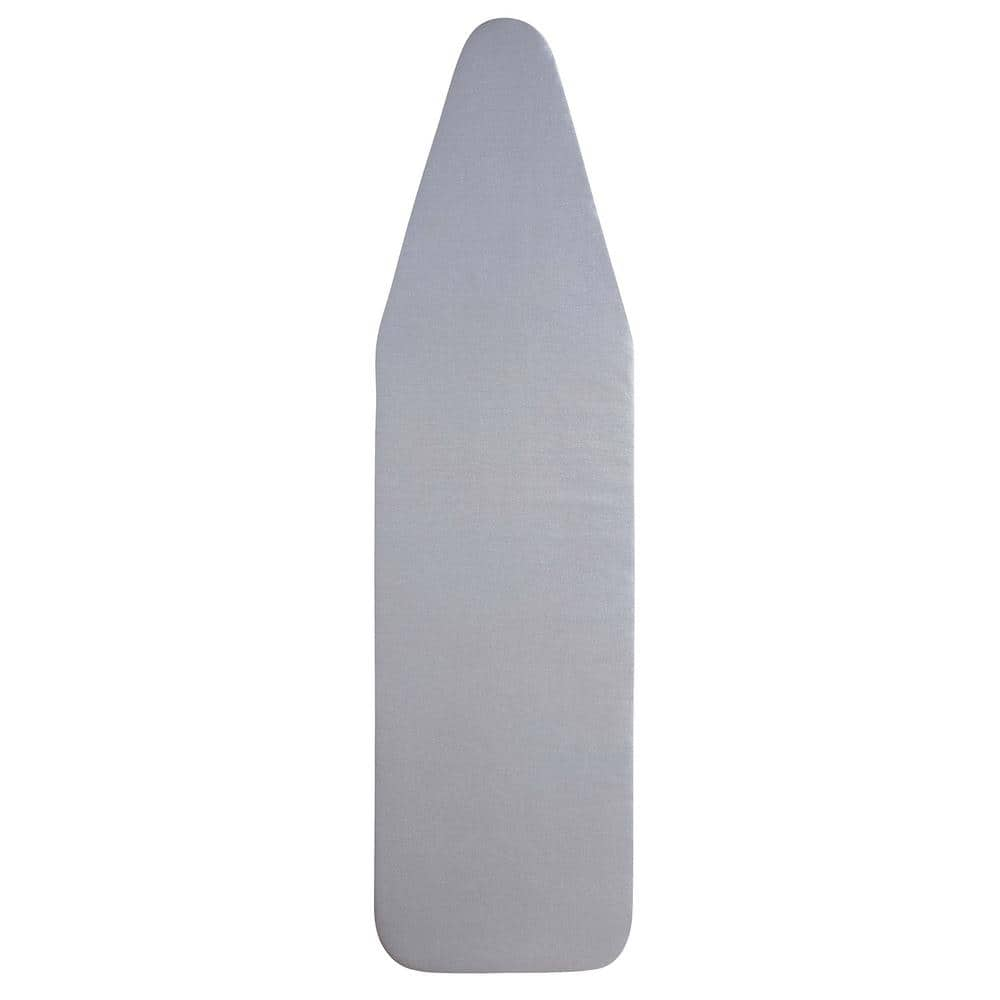
HOUSEHOLD ESSENTIALS Gray Cotton Iron Board Cover and Pad for Standard Ironing Boards 81009

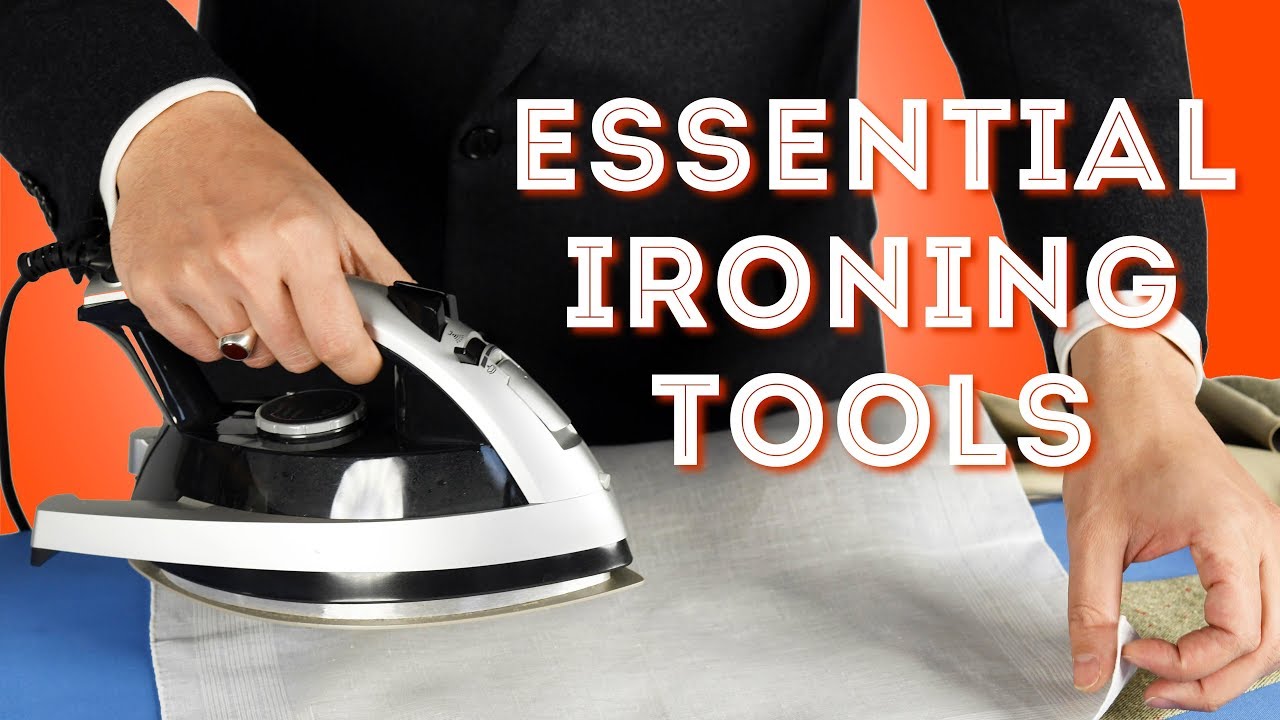
Sunbeam 1200W Classic Steam Iron with Shot of Steam Feature 17098

Oster Coolidge 16 oz. Glass Measuring Cup with Lid in Gray 985121807M
distillate

Elrene 17 in. W x 17 in. L Elegance Plaid Damask White Fabric Napkins (Set of 4) 21051WHT
HOUSEHOLD ESSENTIALS Steel Top Ironing Board 972021-1
This steel top ironing board is a must-have for anyone looking to streamline their ironing chores with a bit of style. Made with high-quality materials, this ironing board is made to last, and the 4-leg
HOUSEHOLD ESSENTIALS Gray Cotton Iron Board Cover and Pad for Standard Ironing Boards 81009
Make ironing a breeze with the HOUSEHOLD ESSENTIALS Replacement Ironing Board Cover and Pad, the perfect accessory to upgrade your ironing routine. This high-quality cover and pad is designed to fit all
Sunbeam 1200W Classic Steam Iron with Shot of Steam Feature 17098
Sunbeam Classic 1200W Steam Iron is efficient and easy to use. It includes a powerful SHOT OF STEAM feature to provide an extra burst of steam to help smooth out stubborn wrinkles on both flat surfaces
Oster Coolidge 16 oz. Glass Measuring Cup with Lid in Gray 985121807M
Prepare your favorite sauces, marinades, batters and more in ease with the Oster Coolidge 16 oz. glass measuring cup. Constructed of durable Borosilicate clear glass for sturdy long term use and printed
distillate
Distillate is a term commonly used in the world of spirits and liquors, particularly in the context of cocktail making and bartending. Distillate refers to the concentrated liquid that is produced through the process of distillation, which involves heating a liquid to create vapor and then cooling it back down to a liquid state. This process helps to separate the alcohol from other components in the liquid, resulting in a more potent and flavorful spirit. Distillates are a crucial ingredient in many cocktails, as they provide the base alcohol that forms the foundation of the drink. They come in a variety of forms, including whiskey, rum, vodka, gin, tequila, and more. Each type of distillate has its own unique flavor profile and characteristics, which can greatly impact the overall taste and experience of a cocktail. In cocktail making, distillates are often used as the primary spirit in a drink, providing the main alcoholic kick and flavor. They can also be combined with other ingredients such as mixers, syrups, bitters, and garnishes to create complex and well-balanced cocktails. Distillates can be shaken, stirred, muddled, or even layered to create different textures and flavors in a cocktail. One notable characteristic of distillates is their versatility. They can be used in a wide range of cocktails, from classic recipes like the Old Fashioned and Martini to more modern creations like craft cocktails and mixology experiments. Bartenders often experiment with different distillates and flavor combinations to create unique and innovative drinks that cater to a variety of tastes and preferences. Overall, distillates play a crucial role in the world of cocktail making and bartending. They provide the essential alcohol content and flavor profile that form the backbone of a cocktail, while also offering endless possibilities for creativity and experimentation. Whether you prefer a simple and classic cocktail or a bold and adventurous creation, distillates are sure to elevate your drinking experience and leave you coming back for more.
Elrene 17 in. W x 17 in. L Elegance Plaid Damask White Fabric Napkins (Set of 4) 21051WHT
The Elegance Plaid table linens collection features a solid plaid pattern and is available in seven colors: Beige, Black, Blue Shadow, Holly Green, Poinsettia Red, Ribbon Gold and White. 100% Polyester.
Steps

Prepare the Ironing Board
5 minutesUnfold the ironing board and adjust its height to a level that allows you to iron comfortably while standing. Ensure all legs are firmly on the ground to prevent wobbling. Drape a clean, well-fitting ironing board cover over the padded surface. Smooth out any wrinkles in the cover to create a flat ironing surface.
Watch: Select a Proper Ironing BoardPrepare the Iron
5 minutesIf using a steam iron, open the water reservoir cap and fill it with distilled or demineralized water to the indicated fill line. Close the cap securely. Plug the iron into a power outlet and select the appropriate temperature setting for the fabric of the garment you intend to iron. Consult the garment's care label for the recommended setting.
Watch: Use Distilled Water and Spray BottleIron Smaller Items First
10 minutesSelect a few small, non-essential fabric items such as handkerchiefs or cloth napkins. Iron these items first, starting with a lower heat setting and gradually increasing it if necessary. This allows you to gauge the iron's performance and adjust your technique before moving on to more important garments.

Iron Shirts
15 minutesLay the shirt flat on the ironing board. Start by ironing the collar, from the points inward. Next, iron the cuffs, ensuring they are flat. Then, iron the sleeves, moving from the shoulder towards the cuff. Unbutton the shirt and iron the front panels, working from the placket outwards. Finally, lay the back of the shirt flat and iron it from the yoke downwards.
Watch: Dampen and Iron Shirt
Iron Trousers/Pants
12 minutesLay the trousers flat. Iron the pockets and the waistband area first. For the legs, align the inseam and outseam to create a crisp crease down the front and back if desired, or iron the leg flat to avoid a crease. Work in sections, ensuring the fabric is smooth before pressing.
Watch: Final Pressing and Creasing
Iron Skirts and Dresses
15 minutesFor skirts, start at the waistband and work your way down, ironing in sections. For dresses, iron the bodice, sleeves (if any), and then the skirt portion, similar to ironing a shirt and skirt combined. Use the tip of the iron to navigate around seams, darts, and embellishments. For gathered or pleated skirts, iron between the pleats or use a steam function to relax wrinkles.
Watch: Iron the First Section of PleatsIron Delicate Fabrics
10 minutesFor fabrics like silk, rayon, or synthetics, select the lowest appropriate heat setting on your iron. Place a clean, dry pressing cloth (such as a cotton handkerchief or a piece of muslin) between the iron and the garment. Iron gently, applying minimal pressure, and avoid using steam unless the fabric care label specifically allows it.
Watch: Utilize a Pressing Cloth or Teflon Soleplate
Hang or Fold Immediately
5 minutesAs soon as a garment is ironed, either hang it on a suitable hanger or fold it neatly. This prevents the freshly pressed fabric from creasing again while it cools and settles. For items prone to stretching, hanging is often preferred.
Watch: Remove and Inspect De-wrinkled Clothes
Clean and Store the Iron
5 minutesAfter the iron has cooled completely, turn it upside down and drain any remaining water from the reservoir. Wipe down the soleplate with a soft, damp cloth if necessary to remove any residue. Store the iron upright in a safe, dry place, ensuring the cord is not tightly wrapped around the iron in a way that could damage it.
Watch: Post-Ironing Storage and MaintenanceCommon Problems
Fabric gets scorched or burned by the iron, leaving brown marks or damage.
Solution: Immediately lift the iron. For minor scorches, try gently rubbing the area with a damp cloth or a paste of baking soda and water. For severe burns, the fabric may be permanently damaged. If the iron is dirty, clean the soleplate once it's cool.
Prevention: Always check the care label on clothing for the recommended heat setting. Start with a lower temperature and increase gradually if needed. For delicate fabrics, always use a pressing cloth (like one of the fabric napkins provided) between the iron and the garment. Never leave a hot iron unattended on clothing or the ironing board cover.
The iron is leaking water onto clothes, leaving water spots or wet marks, or not producing enough steam.
Solution: If leaking, ensure the iron is filled with the correct amount of water (not overfilled) and has reached the proper temperature for steam (usually higher settings). If it's not steaming, check the water reservoir for adequate fill and ensure the iron is hot enough. Mineral buildup from tap water can cause issues; try using distilled water as a replacement. If steam holes are clogged, unplug the iron, let it cool, and use a cotton swab to gently clear the holes.
Prevention: Always use distilled water (as listed in your materials) in your iron to prevent mineral buildup and clogging. Do not overfill the water tank. Allow the iron to heat up fully to its steaming temperature before pressing the steam button or feature.
Clothes still have wrinkles after ironing, or new wrinkles appear quickly after ironing.
Solution: Ensure the iron's heat setting is appropriate for the fabric type (check care labels) and use steam if the fabric allows. Press firmly and move the iron slowly over the fabric. For new wrinkles appearing, re-iron the affected areas and make sure to immediately hang or neatly fold garments after ironing, while they are still warm, to allow them to set without wrinkling.
Prevention: Sort clothes by fabric type and iron from lowest to highest temperature. Ensure the iron is at the correct temperature for the fabric. Hang or fold freshly ironed items immediately on appropriate hangers (like the Chrome Metal Hangers) or in drawers to prevent new creases.
The iron's soleplate (the bottom metal plate) is sticking to fabric or feels rough and dirty, making it hard to glide.
Solution: Unplug the iron and let it cool completely. Use a damp cloth with a mild abrasive cleaner (such as a paste of baking soda and water) or a specialized iron soleplate cleaner to gently scrub the soleplate. Wipe clean with a damp cloth. For melted synthetic residue, you may need a specialized cleaner or careful scraping with a plastic (non-scratching) tool once cool.
Prevention: Avoid ironing over zippers, buttons, or embellishments that could scratch or melt onto the soleplate. Always check fabric content and avoid using too high a heat setting for synthetic materials. Clean the soleplate regularly, especially after ironing heavily starched items or fabrics that leave residue.
The ironing board is wobbly, unstable, or collapses during use, creating a safety hazard.
Solution: Immediately remove the iron and clothing from the board. Carefully re-adjust the ironing board's legs, ensuring they are fully extended and locked securely into place. Check all locking mechanisms for damage or wear. If the board continues to be unstable, it may need repair or replacement.
Prevention: Before each use, always ensure the ironing board (like the HOUSEHOLD ESSENTIALS Steel Top Ironing Board) is fully opened, all legs are locked, and it is placed on a stable, level surface. Avoid placing excessive weight or leaning heavily on one side of the board during ironing.
Shiny marks or 'press marks' are left on dark-colored or delicate fabrics after ironing.
Solution: For fresh shiny marks, sometimes gently re-dampening the area and re-ironing through a pressing cloth on a lower heat setting can help. For more stubborn marks, a very light spritz of distilled vinegar and then re-ironing with a pressing cloth might work (always test on an inconspicuous area first).
Prevention: Always use a pressing cloth (such as the provided fabric napkins) when ironing dark fabrics, silks, synthetics, or any material prone to developing a shine. Iron these fabrics on the reverse side whenever possible. Avoid excessive heat or holding the iron in one spot for too long.
Frequently Asked Questions
What type of iron is recommended for beginners, and why is steam important?
A steam iron like the Sunbeam 1200W Classic Steam Iron is ideal for beginners. Steam helps relax fabric fibers, making wrinkles easier to remove and providing a smoother finish. The 'Shot of Steam' feature is also great for tackling stubborn creases effectively.
What kind of water should I use in my steam iron to prevent damage?
Always use distilled water, or 'distillate,' in your steam iron. Tap water contains minerals that can build up inside the iron over time, potentially clogging steam vents and leaving stains on your clothes. Using distilled water prolongs the life of your iron and ensures clean steam output.
How can I avoid scorching or damaging my clothes while ironing?
To prevent scorching, always check the care label on your garment for the recommended iron temperature setting. Start with lower heat for delicate fabrics like silk and gradually increase for sturdier materials like cotton or linen. Keep the iron moving continuously and avoid leaving it stationary on any one spot for too long.
Is ironing a difficult skill to learn, and how long does it typically take?
Ironing is considered a beginner-friendly skill that improves significantly with practice. While the estimated time for a full load might initially be around 60 minutes, you'll likely speed up as you become more comfortable with different garment types and techniques. Starting with simpler items like t-shirts helps build confidence.
Are there alternatives to a full-sized ironing board, especially for small items or travel?
Yes, for smaller items, quick touch-ups, or when space is limited, a garment press pad like the Conair Garment Press Pad Blue Mitt can be very convenient. You can place it on any heat-safe flat surface. However, for larger garments like shirts or trousers, a stable, full-sized ironing board generally provides the best surface for a crisp finish.
My clothes still look wrinkled after ironing; what could be the problem?
Persistent wrinkles often indicate that the fabric isn't properly dampened, the iron isn't hot enough for the fabric type, or you're not using enough steam. Ensure you're ironing the garment while it's slightly damp or utilizing ample steam, and press firmly with consistent movement. Ironing clothes in sections and gently pulling the fabric taut can also help achieve a smoother result.
After ironing, what's the best way to keep clothes wrinkle-free?
To maintain a wrinkle-free finish, immediately hang freshly ironed clothes on appropriate hangers, such as the Only Hangers Chrome Metal Hangers, or fold them neatly and precisely. Allowing garments to cool and set without being creased helps prevent new wrinkles from forming before storage. Avoid over-stuffing your closet, which can also cause new creases.