Pipe Insulation
About This Project
This project outlines the process of insulating pipes to improve energy efficiency and prevent freezing. It covers material selection, preparation, installation techniques, and finishing.
Tools & Materials
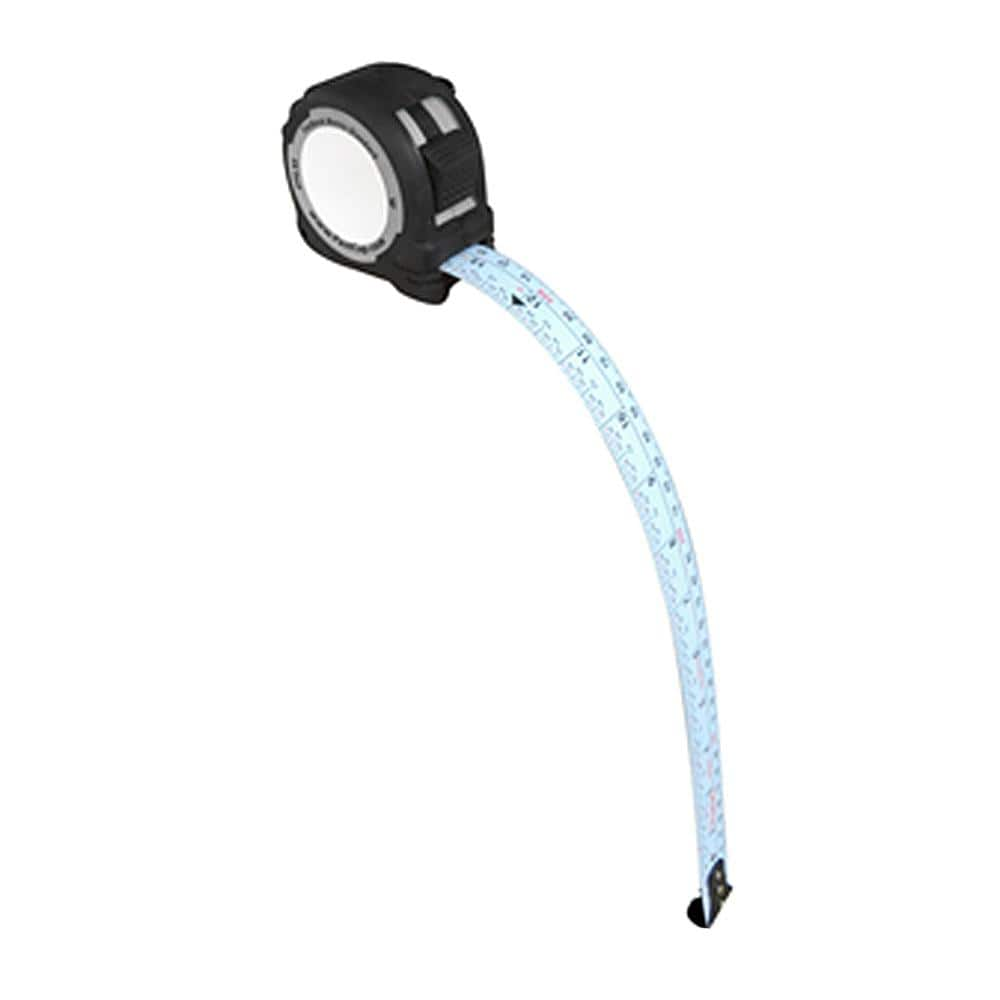
FASTCAP 16 ft. Metric/Standard Flat Back Measure Tape FC.PMS.F16
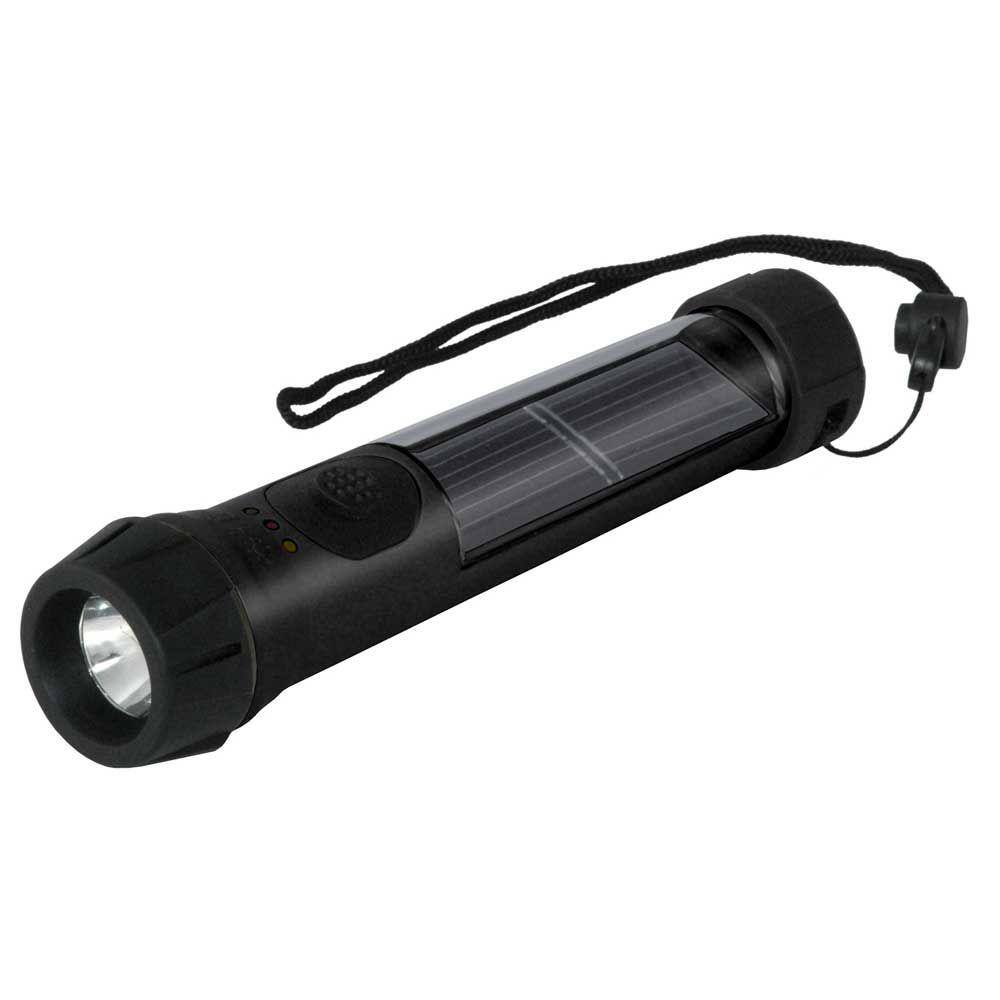
Hybrid Light Solar Flashlight - Black 001175

Everbilt 1 in. x 6 ft. Foam Self-Seal Pipe Insulation ORS11812

Frost King 3 in. x 25 ft. Foil Backed Fiberglass Pipe Wrap Insulation SP42X/16

Everbilt 3/4 in. x 6 ft. Foam Semi-Slit Polyethylene Pipe Insulation ORP07812

Milwaukee 6 in. Smooth Blade Insulation Knife 48-22-1921
FASTCAP 16 ft. Metric/Standard Flat Back Measure Tape FC.PMS.F16
Face it, not all surfaces are flat. The ProCarpenter Flat back is a flexible tape for measuring curves and flat panels with precision and ease. The PMS blade style has both the metric and standard measurements
Hybrid Light Solar Flashlight - Black 001175
The Hybrid Solar Light uses revolutionary technology that generates power from any light source, indoor lighting or sun light and stores it for later use. The Hybrid Solar Light is always collecting power
Everbilt 1 in. x 6 ft. Foam Self-Seal Pipe Insulation ORS11812
For an economical and energy efficient way to help prevent your pipes from freezing use the Everbilt Self Sealing Foam Pipe Insulation. This insulation is fire-rated helping ensure safety. Product R-Value
Frost King 3 in. x 25 ft. Foil Backed Fiberglass Pipe Wrap Insulation SP42X/16
The Thermwell Product Co., Inc. 3 in. x 25 ft. Fiberglass Pipe Wrap Insulation will help save you money both winter and summer. The foil-backed insulation cuts wasteful heat loss on hot water pipes and
Everbilt 3/4 in. x 6 ft. Foam Semi-Slit Polyethylene Pipe Insulation ORP07812
Milwaukee 6 in. Smooth Blade Insulation Knife 48-22-1921
The Milwaukee Smooth Blade Insulation Knife is designed for optimal edge retention and durability. The stainless steel blade is engineered to stay sharper up to 2X longer when cutting mechanical and HVAC
Steps

Assess Pipe Location and Type
30 minutesBefore purchasing any materials, carefully inspect the pipes that need insulation. Identify whether they are hot water, cold water, or drain pipes, as this will influence the type of insulation required. Note the diameter and length of each pipe section, as well as whether the pipes are located indoors or outdoors, in accessible areas, or in confined spaces. This assessment is crucial for calculating material quantities and choosing the most effective insulation.
Watch: Prepare Pipes and Measure for Insulation
Select Insulation Material
20 minutesBased on your assessment, select the appropriate insulation. For hot water pipes, foam or fiberglass pipe sleeves are common. For cold water pipes, especially in areas prone to freezing, consider thicker insulation or closed-cell foam to prevent condensation and heat gain. For drain pipes, insulation can help reduce noise. Ensure the insulation's inner diameter matches or is slightly larger than your pipe's outer diameter. Check the temperature rating of the insulation to ensure it's suitable for the pipe's operating temperature.
Watch: Choose the Right Pipe Insulation Material
Measure and Cut Insulation
45 minutesMeasure the length of each pipe section that needs insulation. For straight runs, cut the insulation to length. For fittings such as elbows and tees, measure carefully and use a template or mark the insulation directly to create precise cuts. Many pipe insulation products come with pre-cut sections for common fittings, which can simplify this process.
Watch: Measure and Cut New Insulation
Install Insulation on Straight Pipe Sections
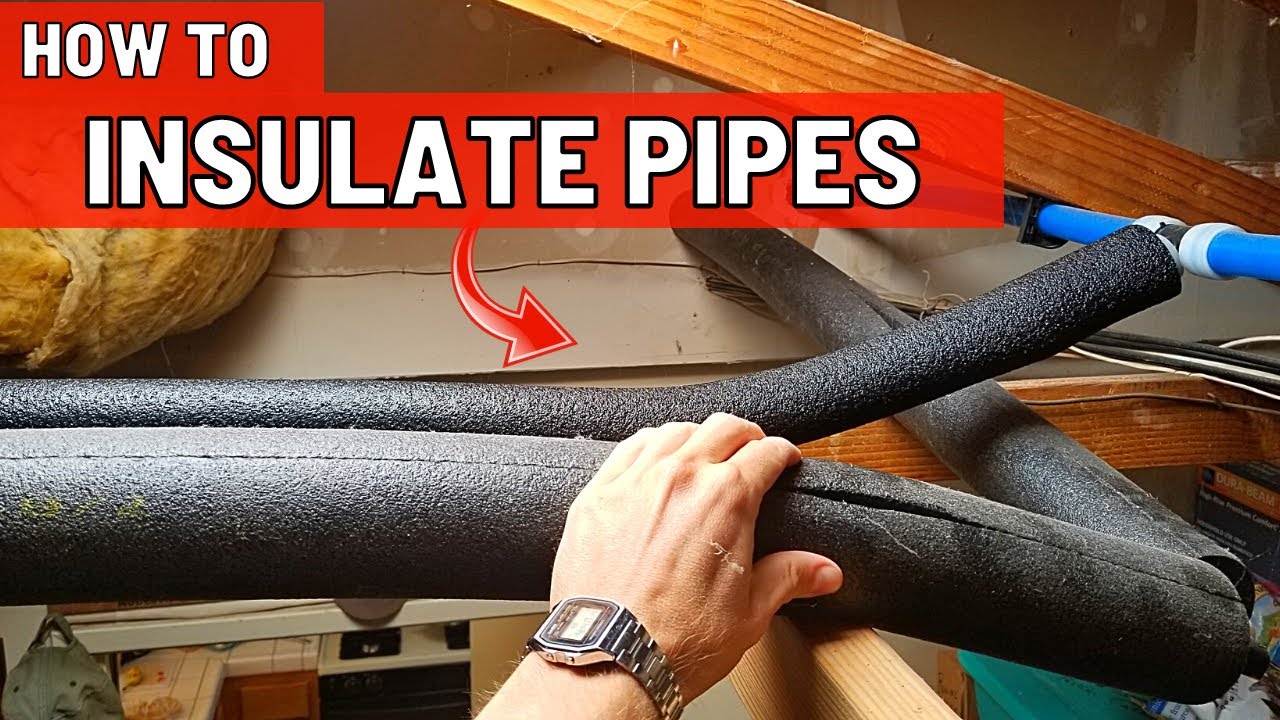
60 minutesFor most pipe insulation sleeves, a slit runs along the length, allowing them to be opened and fitted around the pipe. If your insulation does not have a slit, carefully cut one lengthwise. Slide the insulation onto the pipe. If it's a wrap-around type, secure it around the pipe. Ensure there are no gaps between the insulation and the pipe. For split sleeves, press the slit closed.
Watch: Cut and Apply Pipe Insulation
Insulate Pipe Fittings
40 minutesCarefully fit the pre-cut insulation pieces around elbows and tees. For elbows, ensure the angled cuts meet snugly to create a continuous insulating barrier. Use adhesive tape or specialized fitting covers to seal any gaps around the fittings. This step is critical for preventing thermal bridging, where heat can escape or enter through uninsulated areas.
Watch: Insulate Second Elbow and Secure All Insulation with Tape
Seal All Seams and Joints
30 minutesUse the recommended adhesive tape or mastic sealant to securely seal all longitudinal seams, circumferential joints, and any areas where insulation pieces meet. Ensure the tape is applied smoothly and adheres well to the insulation material. For outdoor applications, use weather-resistant tape to protect against moisture and UV damage. Properly sealing all openings is vital for the insulation's performance and longevity.
Watch: Complete Sealing and Finishing
Apply Outer Jacket (if applicable)
60 minutesFor pipes exposed to the elements or high-traffic areas, an outer protective jacket may be necessary. This could be a metal cladding, a durable plastic wrap, or a heavy-duty insulation cover. Install the jacket according to the manufacturer's instructions, ensuring it overlaps correctly and is secured firmly. This layer provides physical protection against damage and enhances the insulation's ability to withstand environmental factors.
Watch: Apply Aluminum Jacketing to Straight Pipe
Inspect and Test
20 minutesOnce the insulation is fully installed and all seams are sealed, conduct a thorough visual inspection. Check for any gaps, loose fittings, or areas where the insulation may have been damaged during installation. If possible, briefly run hot or cold water through the pipes to ensure the insulation is performing as expected and there are no obvious leaks or issues. This final check ensures the project's success and optimal energy efficiency.
Watch: Perform Final Quality CheckCommon Problems
The pipe insulation doesn't fit snugly around the pipe, leaving gaps or appearing loose.
Solution: Remove the ill-fitting section of insulation. Re-measure the pipe's outer diameter carefully using your measuring tape. Select insulation that matches this diameter. When cutting, use your insulation knife or box cutter to make precise, straight cuts. Re-install the new piece, ensuring it wraps tightly around the pipe. For foam insulation, press the self-sealing adhesive firmly along the entire seam to ensure full contact.
Prevention: Before purchasing materials, accurately measure the *outer diameter* of all pipes you plan to insulate. When cutting, always use a sharp blade and a measuring tape as a guide to ensure straight, precise cuts. A snug fit is crucial for effective insulation.
Insulation seams are coming undone, or sections are falling off the pipe after installation.
Solution: Re-secure the loose insulation. If it's foam insulation, ensure the self-adhesive strip is clean and pressed firmly along its entire length. If it's a wrap, re-wrap the section tightly, ensuring each layer overlaps the previous one by at least half its width. For all types, apply additional Armacell R-1 Foam Insulation Tape or Master Flow Water Based Mastic over all seams, joints, and ends, pressing firmly to create a strong, lasting bond.
Prevention: Ensure pipes are clean and completely dry before applying insulation. For self-sealing foam, press the adhesive firmly and evenly. For wraps, maintain tension as you apply. Always seal all seams, joints, and ends thoroughly with the recommended insulation tape or mastic to prevent them from peeling or coming loose.
Difficulty cutting the insulation cleanly or making straight lines, resulting in jagged edges or wasted material.
Solution: Ensure you are using a very sharp cutting tool. If using a box cutter, extend a fresh blade. If using the Milwaukee 6 in. Smooth Blade Insulation Knife, ensure it's clean and sharp. Place the insulation on a stable, flat surface. Use your measuring tape or a straight edge as a guide for your knife to ensure a straight cut. Apply steady, even pressure rather than trying to saw through it quickly.
Prevention: Always use a sharp utility knife or the specialized insulation knife for clean cuts. Replace blades frequently as dull blades tear rather than cut. Practice on a small scrap piece first to get a feel for the material and tool, and always use a straight edge for guidance.
Encountering hot pipes or sharp edges/burrs on pipes during the insulation process, posing a safety risk.
Solution: If pipes are hot, immediately stop working. Turn off the water system and wait for the pipes to cool down completely before resuming. If you encounter sharp edges (e.g., from pipe clamps, cut pipe ends), wear thick work gloves to protect your hands. If possible, use a file or sandpaper to smooth down sharp burrs before insulating over them.
Prevention: Always ensure the water system is turned off and pipes are cool to the touch before starting any insulation work. Wear sturdy work gloves and safety glasses throughout the project to protect against cuts, scrapes, and debris. Inspect pipes for sharp areas before you begin.
Not having enough insulation material to complete the entire project.
Solution: Stop work and accurately measure the remaining uninsulated pipe sections and any uninsulated fittings. Calculate the exact amount of additional material needed. Purchase this amount, plus a small buffer (e.g., 10-15%) to account for any miscuts or future needs. Avoid trying to stretch insufficient material, as this will compromise effectiveness.
Prevention: Before purchasing any materials, carefully measure the total linear feet of all pipes you intend to insulate. Also, count and measure all fittings (elbows, tees, valves). Add 10-15% to your total measurements to account for waste, miscuts, and ensure you have enough to complete the job without interruption.
The insulation becomes wet or damp during or shortly after installation.
Solution: If the insulation is wet, remove it immediately. Allow the pipe to dry completely. If the insulation itself is soaked, it may lose its insulating properties and should be replaced with new, dry material. Ensure the surrounding area is dry before re-insulating. If the issue is condensation, meticulously re-seal all seams and joints with insulation tape and/or mastic to create a complete vapor barrier and prevent moisture from getting trapped inside.
Prevention: Ensure pipes are completely dry before applying insulation. Avoid insulating on very humid days if possible, or ensure good ventilation in the work area. The most critical prevention step is to seal all seams, joints, and ends thoroughly with appropriate tape and mastic to prevent any moisture (either from leaks or condensation) from reaching the pipe or the insulation.
Frequently Asked Questions
How do I choose the correct type and size of insulation for my specific hot or cold pipes?
Measure the pipe's outside diameter (OD) to match the insulation's inner diameter for a snug fit. For materials, foam is generally suitable for indoor hot/cold pipes, while foil-backed fiberglass or insulation jackets are better for outdoor or high-temperature applications due to weather resistance and higher R-value.
What specific cutting tools are recommended for neat and effective pipe insulation installation?
A sharp insulation knife (like the Milwaukee 6 in. Smooth Blade Insulation Knife), a box cutter, or heavy-duty utility scissors are crucial for clean, straight cuts. For more rigid materials or protective outer jackets, an electric metal shear (WEN 4 Amp 18-Gauge Variable Speed Swivel Head Electric Metal Shear) may be beneficial for precise cuts.
What's the best way to insulate awkward pipe fittings like elbows and tees for complete coverage?
Utilize pre-formed insulation covers specifically designed for elbows and tees (e.g., UniTherm Isocovers Iso-Elbow). If these aren't available, carefully miter-cut straight insulation pieces to fit snugly around the fitting. Secure all cuts and seams with insulation tape and mastic sealant to prevent gaps.
After installing the main insulation, what is the most critical step to ensure maximum energy efficiency and moisture protection?
Thoroughly seal all seams, joints, and cut ends with specialized insulation tape (Armacell R-1 Foam Insulation Tape) and water-based mastic sealant (Master Flow Water Based Mastic). This prevents air gaps, moisture intrusion, and heat loss, ensuring the insulation performs optimally and prevents condensation.
What important safety precautions should I take before and during this pipe insulation project?
Always ensure hot pipes have cooled and water lines are off if you'll be working closely with them. Wear appropriate personal protective equipment, including work gloves to protect hands from rough materials or sharp tools, and safety glasses to protect your eyes from debris. Inspect pipes for leaks beforehand.
Is pipe insulation a suitable DIY project for beginners, and how long should I expect it to take?
Yes, this project is rated as beginner difficulty and is highly approachable for new DIYers. While the estimated time is 6 hours, it can vary based on the number of pipes, accessibility, and complexity of fittings. Plan for a full half-day or spread it over a couple of shorter sessions for best results.